

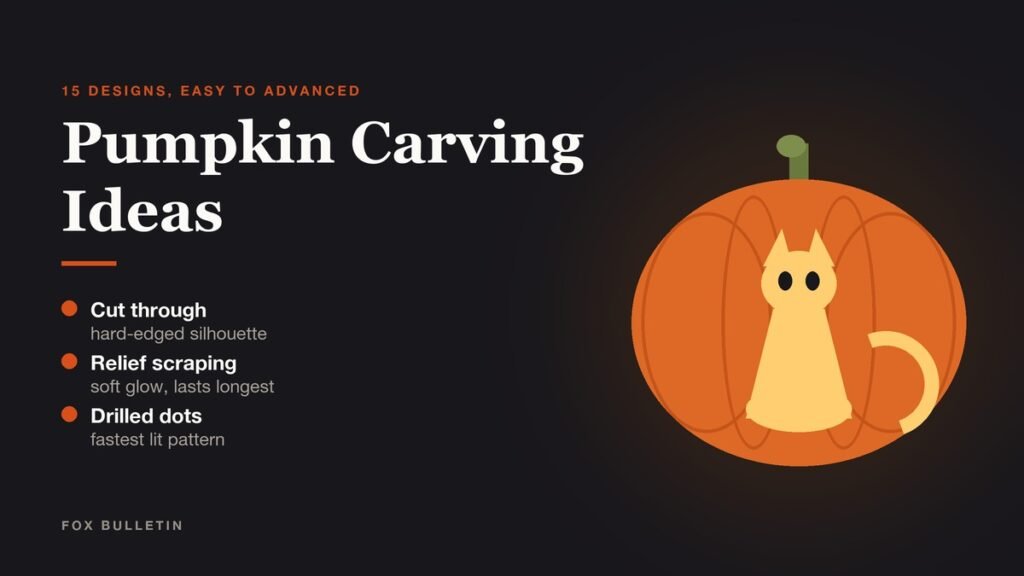
Pumpkin carving ideas divide into three techniques, not fifteen: cut all the way through for a hard silhouette, scrape the skin away for a soft glow, or drill a pattern of holes. The fifteen designs below are sorted by difficulty and each one names the cut it needs and the tools that make it possible.
Carving is the single most popular Halloween activity after handing out candy and wearing a costume. The National Retail Federation expects 42 percent of consumers to carve a pumpkin in 2026, the same share that decorates a home or watches a scary movie. Pick the design first, then buy the pumpkin that suits it:
| Design | How it is cut | Difficulty | Tools |
|---|---|---|---|
| Classic triangle face | Cut through | Easy | Serrated pumpkin saw |
| Toothy grin with pinned teeth | Cut through, teeth replaced on toothpicks | Easy | Saw, toothpicks |
| Monogram or house number | Cut through from a printed stencil | Easy | Saw, poking tool |
| Cookie-cutter punch shapes | Punched straight through the wall | Easy | Metal cookie cutters, rubber mallet |
| Drilled constellation | Holes only, two or three bit sizes | Easy | Cordless drill, spade and twist bits |
| Vomiting pumpkin | Wide mouth cut, pulp and seeds spilled out | Easy | Saw, scoop |
| Pumpkin planter | Lid cut only, interior lined and filled | Easy | Knife, plastic liner |
| Cat silhouette | Cut through, one continuous outline | Medium | Keyhole saw, stencil |
| Bat colony | Several small cut-through shapes at different sizes | Medium | Detail saw |
| Spider and web | Thin cut-through lines, web scored shallow | Medium | Linoleum cutter, detail saw |
| Stacked totem | Three pumpkins cut through, threaded on a dowel | Medium | Saw, wooden dowel |
| Leaf print luminary | Skin scraped away around a traced leaf | Medium | Clay loop tools |
| Moon and bare tree scene | Relief scraping with one cut-through moon | Hard | Loop tools, detail saw |
| Relief portrait | Skin scraped to three depths, nothing cut through | Hard | Clay loop tools, ribbon tool |
| Cityscape panorama | Cut-through skyline wrapped around the pumpkin | Hard | Detail saw, long stencil |
Easy Pumpkin Carving Ideas for a First Attempt
The easy designs are the ones with few shapes and thick bridges between them. A classic face, a monogram, a drilled star field and a punched pattern all survive a first attempt, and all of them are finished in under an hour. Five habits make the difference between a clean cut and a collapsed one:
- Pick a design with one closed shape rather than several thin ones, because thin bridges are what collapse while you work.
- Cut the lid at an angle so it cannot drop inside, or skip the lid entirely and cut a hole in the back for the light.
- Scrape the inside wall of the carving face down to about one inch thick before any detail cutting; thinner walls cut cleanly and glow brighter.
- Cut the smallest shapes first while the pumpkin is still rigid, and leave the large mouth or moon for last.
- Saw with a gentle in-and-out motion rather than pressure, and let the blade do the work on the pull stroke.
The toothy grin is the design worth knowing because it hides mistakes. Cut the teeth out as whole blocks, then push each one back into its hole on a toothpick so it stands proud of the face. Anything slightly crooked now looks deliberate, and the pumpkin gets a three-dimensional front that a flat cut cannot match. For the method itself, from choosing a pumpkin to the first cut, our step-by-step guide to carving a pumpkin walks through the whole process.
Cutting Through, Scraping Relief and Drilling: What Each One Looks Like Lit
The technique decides how a design reads at night far more than the drawing does. A face cut all the way through is visible from the sidewalk; a scraped portrait is invisible from the sidewalk and remarkable from three feet away. Choose by where people will stand:
| Technique | What it does |
|---|---|
| Cut through | The whole shape is removed, so light pours out as a hard-edged silhouette. It reads from the street, which is why faces, cats and bats are carved this way, and it is the weakest structurally. |
| Relief or shadow carving | Only the orange skin is scraped off and the flesh underneath is thinned to let a glow through. Nothing is removed completely, so the pumpkin stays rigid and you can carve portraits and gradients that a saw cannot touch. It reads best up close. |
| Drilled patterns | A cordless drill and two or three bit sizes turn a pumpkin into a lantern full of pinpoints in about fifteen minutes. It is the fastest route to something that looks deliberate, and children can mark the positions with a marker before an adult drills. |
| Punched shapes | Metal cookie cutters tapped through the wall with a rubber mallet give clean repeated shapes, such as stars or leaves, with no stencil and no saw work at all. |
Relief carving is the one most people have never tried and the one that produces the results that look professional. Peel the orange skin off inside your outline with a loop tool, then keep thinning the pale flesh underneath where you want more light. At about an eighth of an inch the flesh glows amber, and the difference between a cheek and a shadow becomes a matter of a few passes with the tool. Nothing is cut through, so the pumpkin holds its shape for days longer than a sawn face.
Tools That Change What You Can Carve
The gap between a triangle face and a portrait is mostly tooling. None of it is expensive, and most of it lives in a kitchen drawer or a craft box already:
- A cheap serrated pumpkin saw beats a kitchen knife, which wedges, slips and tears the skin. Keep two: a coarse one for the lid and a fine detail blade for shapes.
- Clay loop tools, sold for pottery, are the whole secret of relief carving. A one-inch loop clears skin fast and a small ribbon tool shades the detail.
- A cordless drill with spade bits from a quarter inch to one inch covers every dotted pattern. Drill slowly, and back the bit out before it punches through.
- An ice cream scoop with a sharp edge empties a pumpkin faster than any carving-kit scraper, and a fleshing tool or paint scraper thins the wall evenly.
- A poking wheel or a plain pushpin transfers a stencil without ink; a dry-erase marker lets you draw freehand and wipe mistakes off the skin.
Transfer the stencil before any of it matters. Tape the printed design flat to the pumpkin with the paper slit around the curve so it lies tight, then poke along every line about a quarter inch apart. Pull the paper off and you have a dotted map that works in the dark, in the cold and on a wet pumpkin, which a marker line does not.
No-Carve Designs for Small Children
Under about eight, the knife is the problem rather than the design. These five give the same lit porch result without a blade, and the pumpkins last the whole month because nothing is cut:
- Paint over the whole pumpkin with one flat color, then add a face in a second color once it dries. White pumpkins with black features read well from a porch at night.
- Push plastic pushpins or upholstery tacks in a pattern and let the metal catch a porch light.
- Glue felt shapes on with craft glue for a design that survives a toddler handling it.
- Wrap the pumpkin in a lace sleeve or a stocking of patterned mesh and light it from behind for a shadow effect.
- Drill the design instead of cutting it: an adult runs the drill, and the child places every mark.
A drilled pumpkin is the compromise worth making with a six-year-old. They mark every hole with a dry-erase marker, an adult runs the drill, and the result is a lantern full of light that the child designed. Save the seeds from any pumpkin you do open, since roasting pumpkin seeds takes about half an hour and uses the part most people throw away.
Lighting a Carved Pumpkin So the Design Reads
A tea light under a relief carving wastes the carving. Battery LED pucks sit flat, throw light evenly up the inside wall and do not blow out, and a string of fairy lights pushed inside lights a tall design from top to bottom rather than from the floor. Cut a vent hole at the back of the lid if you use anything that produces heat.
Match the light to the cut. Cut-through silhouettes want one bright source low and central so the beams project. Relief carvings want a diffuse source close to the carved face, which is why a frosted LED works better than a bare bulb. A white or pale pumpkin takes a colored light well, since the shell is thin enough to tint the whole surface.
Keeping a Carved Pumpkin From Shriveling Before Halloween
A carved pumpkin is an open wound on a vegetable, and it fails in two ways: it dries out and curls, or it molds. Both are preventable, and the steps come from the people who study post-harvest spoilage:
- Clean the outside and sterilize the tools before the first cut, and scrape the seeds and strings out completely, since leftover fiber is what molds first.
- Dip, wash or spray the finished carving with a 10 percent bleach solution, which kills what is living on the cut surfaces.
- Rub petroleum jelly over every cut edge to slow the moisture loss that curls and shrivels a face within two days.
- Light it with an electric light or a glow stick rather than a candle, which cooks the pumpkin from the inside and speeds up the spoiling.
- Keep it between 50 and 60 degrees Fahrenheit: warmer speeds up the pathogens, and below freezing the flesh breaks down.
Timing matters as much as treatment. South Dakota State University Extension puts the optimal range at 50 to 60 degrees Fahrenheit, which in most of the country means carving within the last week of October and bringing the pumpkin indoors or into a cool garage during warm afternoons. A relief carving outlasts a cut-through one by days, so if you want something standing on Halloween night itself, scrape rather than saw.
The habit of carving a lantern at all is younger than the holiday. Turnips and mangel wurzels were the original lanterns in Ireland, Scotland, Wales and parts of England, and the word jack-o-lantern was first applied to a carved pumpkin in American English in 1837, with a Kingston, Ontario newspaper describing carved pumpkins at Halloween in 1866. Our history of Halloween follows the rest of that trail.
Frequently Asked Questions
What are the easiest pumpkin carving ideas for beginners?
A classic triangle face, a monogram, a punched cookie-cutter pattern and a drilled dot design are the four that work on a first attempt. Each uses one repeated shape with thick walls between the cuts, so nothing collapses while you carve.
How do you carve a pumpkin without cutting all the way through?
Scrape the orange skin off inside your outline with a clay loop tool and thin the flesh underneath to about an eighth of an inch where you want light to come through. This is called relief or shadow carving, and it keeps the pumpkin rigid so it lasts longer than a sawn design.
How long before Halloween should you carve a pumpkin?
Three to five days is the practical window for a cut-through design in mild weather, and up to a week for a relief carving. Treating the cut surfaces with a bleach solution and petroleum jelly and lighting it with an LED rather than a candle extends that considerably.
What tools do you need for detailed pumpkin carving?
A fine-toothed detail saw for the cuts, clay loop tools for relief work, a sharp scoop for cleaning out the inside and a poking tool for transferring stencils. A cordless drill with two or three bit sizes covers every dotted pattern.
Related Articles

Get the Fox Bulletin briefing
The stories that matter, in your inbox. No spam, unsubscribe anytime.
Newsletter signup will be available soon.
Related stories
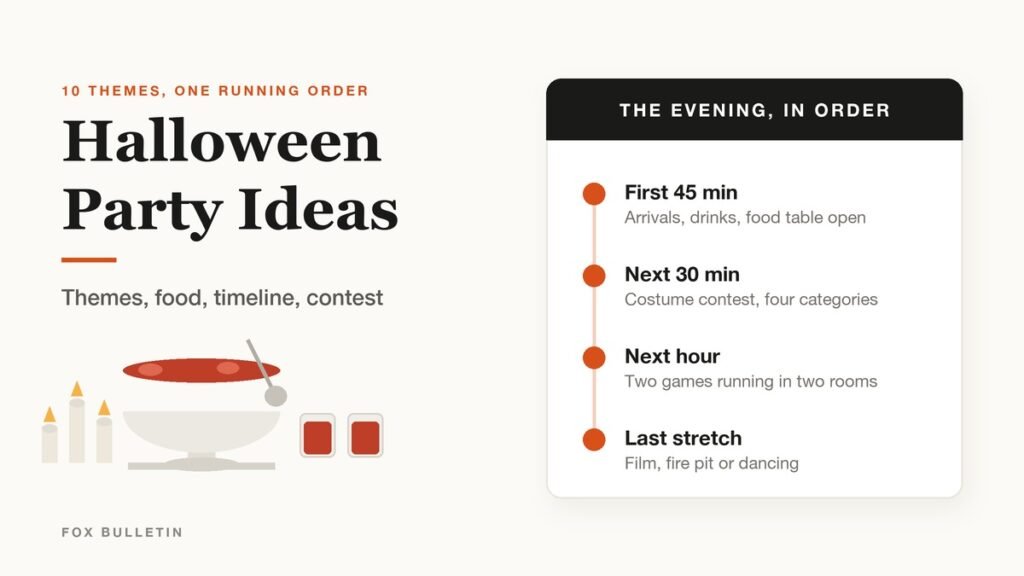
Halloween Party Ideas: 10 Themes, Food and a Timeline
Ten party themes with the decor, food and costume rule for each, a running order for the evening, and the food, drink and budget decisions that make or break a Halloween party.
Halloween Games: 16 Picks for Kids, Classrooms and Adults
Sixteen Halloween games sorted by age and setting, with the rules, the player count and the supplies each one takes, for classrooms, yards, parties and preschoolers.
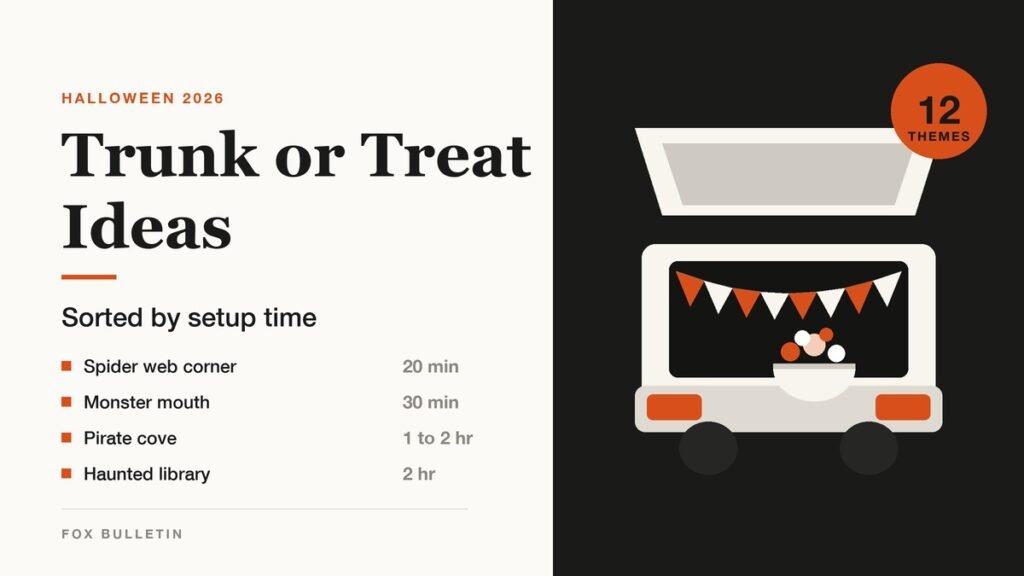
Trunk or Treat Ideas: 12 Themes, Games and Setups
Twelve trunk themes sorted by how long they take to build, the games that keep a candy line moving, and the parking-lot layout organizers use for a trunk or treat.