

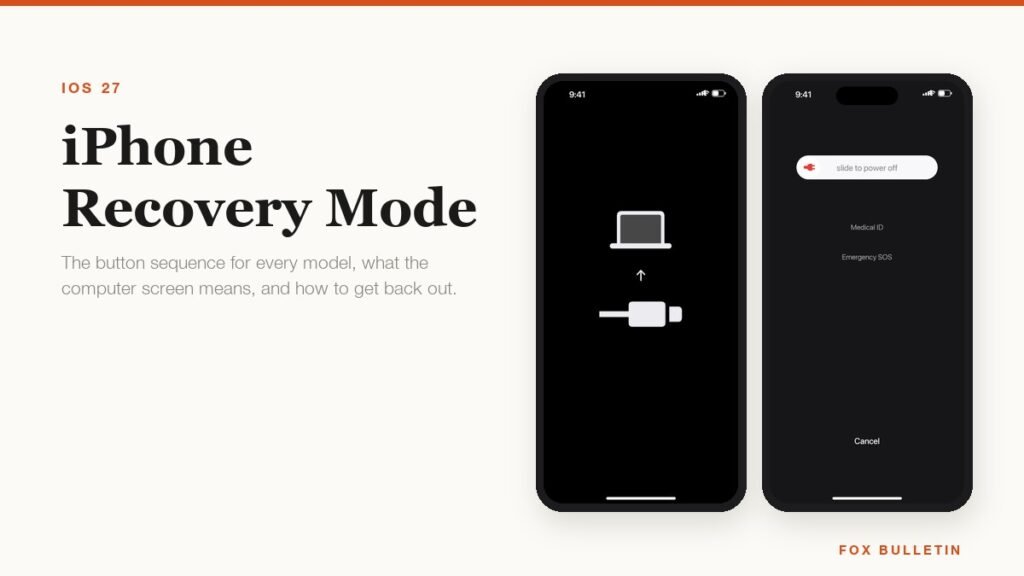
Recovery mode is the state an iPhone drops into so a computer can reinstall iOS on it. You know you are in it when the screen goes black and shows a laptop with a cable pointing up at it. Nothing on the phone is deleted by entering recovery mode itself, which is worth saying plainly, because the screen looks alarming and plenty of people assume the worst at that point.
It is the right tool for a narrow set of problems: a phone frozen on the Apple logo, a failed update, a device your computer will not recognise, or a passcode you cannot remember. It is the wrong tool for a phone that is merely slow or misbehaving, where a force restart does the job without risk. Below is the button sequence for every model Apple still supports, what each option on the computer actually does, and how to get back out when you entered it by accident.
What recovery mode does and when to use it
In normal use an iPhone boots from the system on its own storage. In recovery mode it boots a minimal loader instead and waits for a computer to hand it a fresh copy of iOS. Apple lists four situations in its recovery mode instructions that call for it: the Apple logo sitting there for several minutes with no progress bar, a computer that will not recognise the phone, the cable screen appearing on its own, and a device that keeps restarting into Recovery Assistant without getting anywhere.
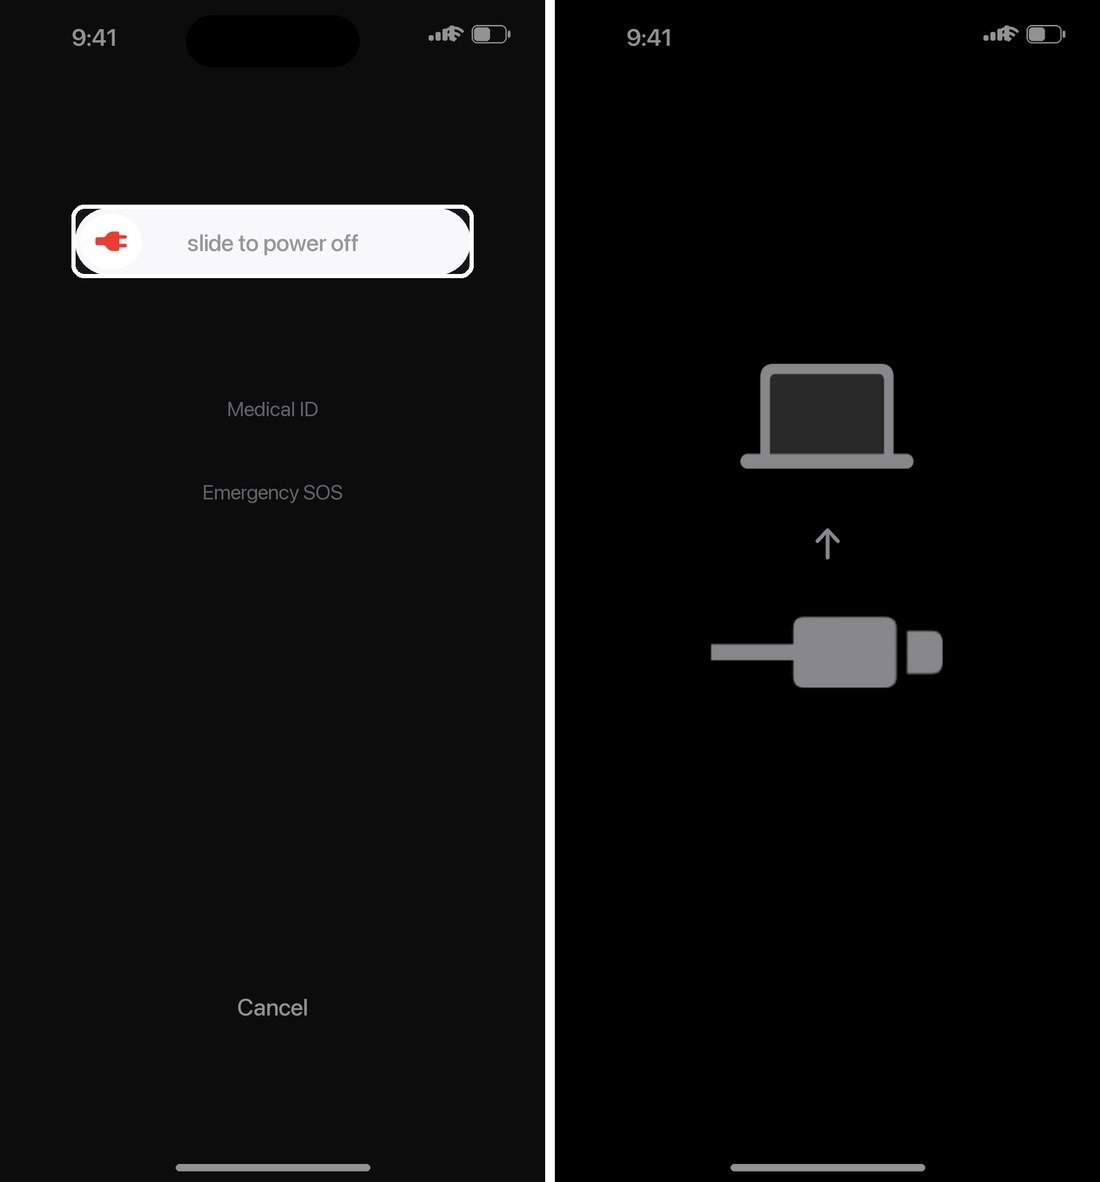
Try the cheaper fix first. A force restart takes ten seconds and solves most freezes without touching your data: press and release Volume Up, press and release Volume Down, then hold the side button until the Apple logo appears. If the phone comes back, you are done and recovery mode is not needed. If it loops back to the same frozen screen, that is when this guide starts.
The button sequence for every iPhone model
Connect the phone to the computer with a cable before you start pressing anything, and have Finder open on a Mac or the Apple Devices app open on a PC. The sequence varies by model because of which buttons the phone has, and the single most common mistake is letting go when the Apple logo appears. The logo is halfway, not the destination. Keep holding until the cable screen replaces it.
- Connect the iPhone to your computer with a USB cable.
- Open Finder on a Mac, or the Apple Devices app on a Windows PC.
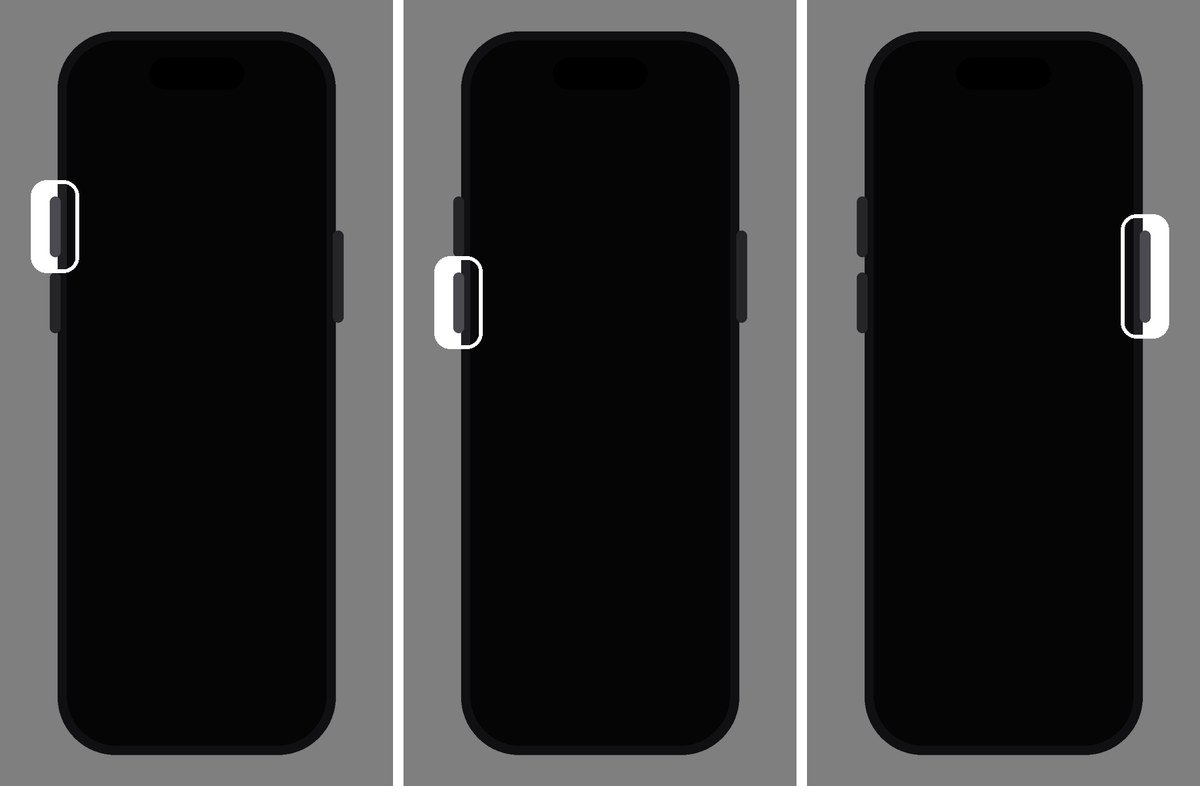
- Press and quickly release Volume Up.
- Press and quickly release Volume Down.
- Press and hold the side button until the laptop-and-cable screen appears, ignoring the Apple logo on the way.
That five-step version covers the iPhone 8 onward, which means every model from 2017 to the current iPhone 18 Pro Max and iPhone Duo. Older hardware uses a different combination, and the table below has all of them in Apple’s own wording.
| Model | Sequence | When to let go |
|---|---|---|
| iPhone 8 and later, including iPhone SE 2nd gen and later | Volume Up, release. Volume Down, release. Hold the side button. | Keep holding past the Apple logo |
| iPhone 7 and iPhone 7 Plus | Hold the side button and Volume Down together. | Release only at the cable screen |
| iPhone 6s and earlier, including iPhone SE 1st gen | Hold the Home button and the top or side button together. | Release only at the cable screen |
| iPod touch 7th generation | Hold the top button and Volume Down together. | Release only at the cable screen |
| iPod touch 6th generation and earlier | Hold the Home button and the top button together. | Release only at the cable screen |
Two practical notes. Use a cable you trust, ideally the one that came with the phone, because a charge-only cable will carry power and never show the device in Finder. And if the phone exits the cable screen while a download is running, that is normal: let the download finish, then put it back into recovery mode and start the restore again.
Update or restore, and what each one costs you
Once the phone is in recovery mode, the computer offers two buttons, and the difference between them is the whole decision. Update reinstalls iOS and leaves your apps, photos and messages where they are. Restore erases the phone completely and installs a clean copy of the latest iOS. Always try Update first.
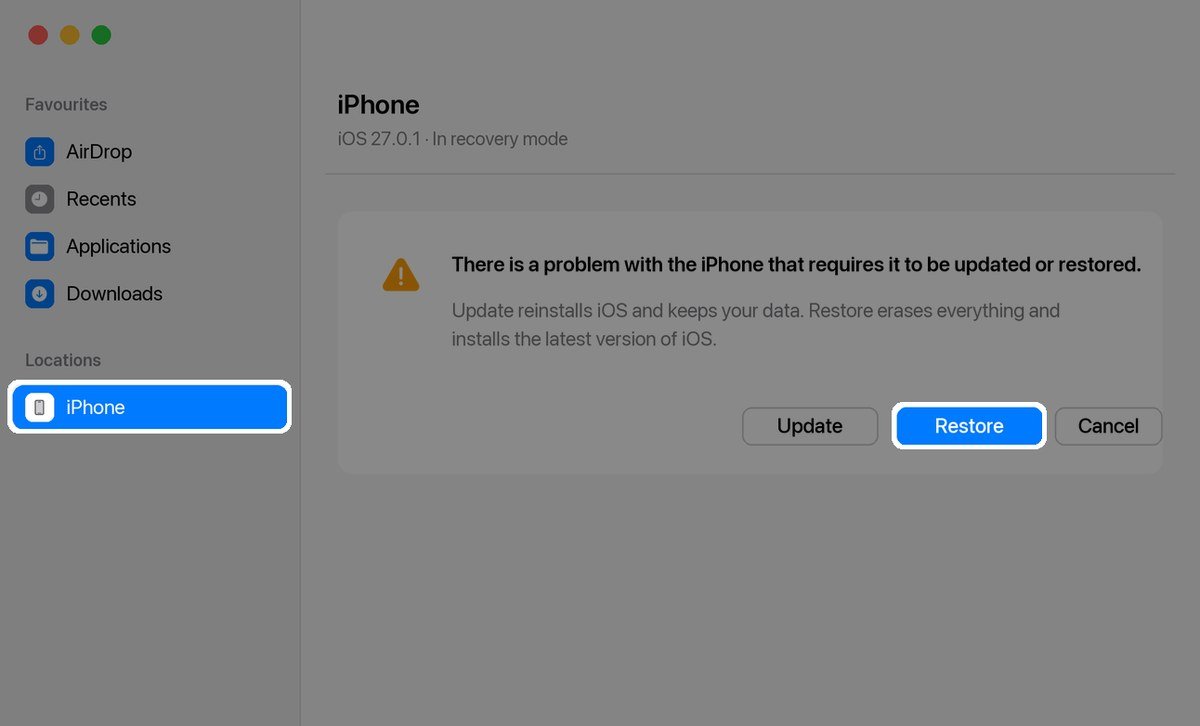
- On a Mac, open a Finder window and select the iPhone under Locations. On a PC, open Apple Devices and select it in the sidebar.
- When the alert appears, choose Update.
- Wait while the software downloads, which can take longer than 15 minutes on a slow connection.
- If Update fails or the phone still will not start, repeat the sequence and choose Restore instead.
- Set the phone up again and restore from your most recent iCloud or computer backup.
A restore is also the official route out of a forgotten passcode, which Apple documents separately in its guide to resetting an iPhone with a computer. There is no version of that process that keeps your data, which is the point of the lock. If you have an iCloud backup from before you were locked out, almost everything comes back during setup.
How to get out of recovery mode
If you entered recovery mode by accident, or you changed your mind before starting a restore, leaving is easy and loses nothing. Click Cancel on the computer, then force restart the phone with the same three-button sequence you used to get in: Volume Up, Volume Down, then hold the side button until the Apple logo appears. Let go at the logo this time. The phone boots normally.
- If it boots straight back to the cable screen, the system on the phone is damaged and a restore is the only way forward.
- If it sticks on the Apple logo instead, leave it on a charger for an hour before trying again, since a very flat battery stalls at exactly that point.
- If the screen stays black, hold the side button for 30 seconds with the phone plugged in; a drained phone needs several minutes of charge before it will respond.
- If the buttons do not respond at all, recovery mode is not available to you and the phone needs service.
That charging point is worth taking seriously, because a phone flat enough to stall at the logo often will not take a useful charge from a laptop port. A mains adapter is better, and if you are away from one our roundup of the best power banks covers the wattage you need to wake a dead iPhone rather than merely trickle into it.
Apple’s page on an iPhone frozen on the Apple logo is worth reading before you book anything, because a phone stuck mid-update often finishes on its own if you leave it connected and walk away for an hour.
DFU mode is not the same thing
Recovery mode has a deeper sibling called DFU, short for Device Firmware Update. Recovery mode loads a small part of the phone’s own software before handing over to the computer. DFU loads none of it, so the screen stays completely black and the computer rewrites the firmware from scratch. If the screen shows a laptop and a cable, you are in recovery mode. If it shows nothing at all but the computer still sees the device, you are in DFU.
- Use recovery mode for failed updates, boot loops and forgotten passcodes, which is almost every case.
- Use DFU only when a recovery-mode restore has already failed, or when a repair guide specifically calls for it.
- Never use either on a phone that is working, since there is nothing to gain and a half-finished restore is worse than the problem.
One warning that applies to both. A phone restored while Find My is on will ask for the Apple Account it was signed into before it will finish setting up. That is Activation Lock doing its job. Know those credentials before you start, and if the phone came to you secondhand, get the previous owner to remove it from their account instead. Our guide to updating to iOS 27 covers the backup checks worth doing before any of this.
Frequently Asked Questions
Does recovery mode erase my iPhone?
Entering recovery mode does not erase anything. Choosing Restore on the computer does, completely. Choosing Update reinstalls iOS and keeps your data. The phone sits in recovery mode indefinitely without changing anything until you pick one.
How long does an iPhone restore take?
Budget about an hour. The download is usually the slow part at 15 to 30 minutes, the install runs another 10 to 20, and restoring from a backup afterwards can take far longer if you have a large photo library. Keep the phone connected to power the whole time.
Can I put an iPhone in recovery mode without a computer?
You can trigger the button sequence without one, but the phone will simply sit on the cable screen with nothing to talk to. Recovery mode exists to let a computer reinstall iOS, so a Mac or PC is required to do anything useful once you are there.
Why does my iPhone keep going into recovery mode on its own?
That usually means the installed copy of iOS is damaged, often after an interrupted update or a failed beta install. Try Update first. If the phone drops back to the cable screen after that, a full Restore is the next step, and if that also fails the storage itself is likely at fault.
Related Articles

Get the Fox Bulletin briefing
The stories that matter, in your inbox. No spam, unsubscribe anytime.
Newsletter signup will be available soon.
Related stories
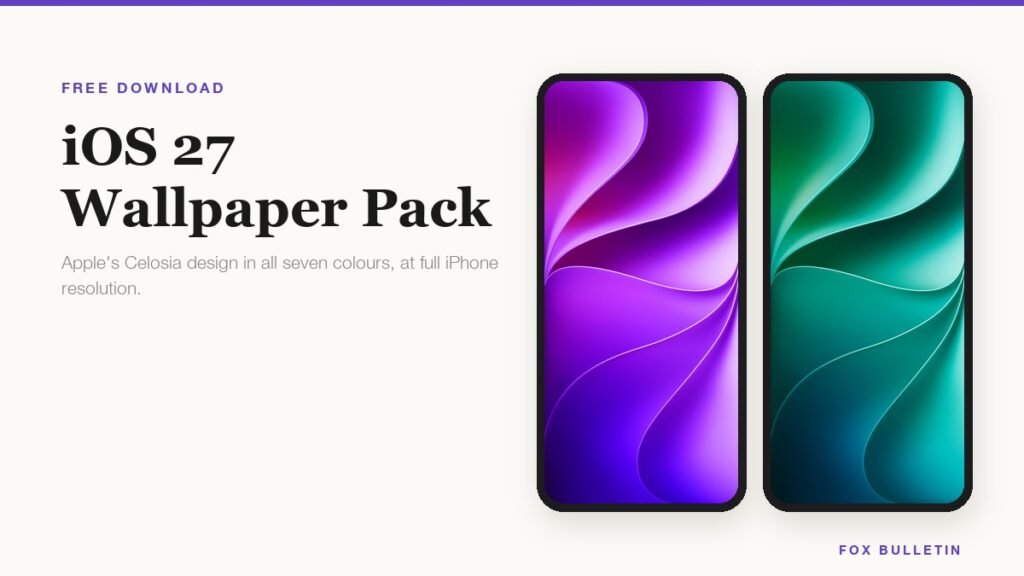
iOS 27 Wallpaper: Download All 7 Celosia Colours
Apple drew one wallpaper for iOS 27 and shipped it in seven colourways. Here is each one at full resolution, shown on an iPhone so you can see where the fold falls before you download it.
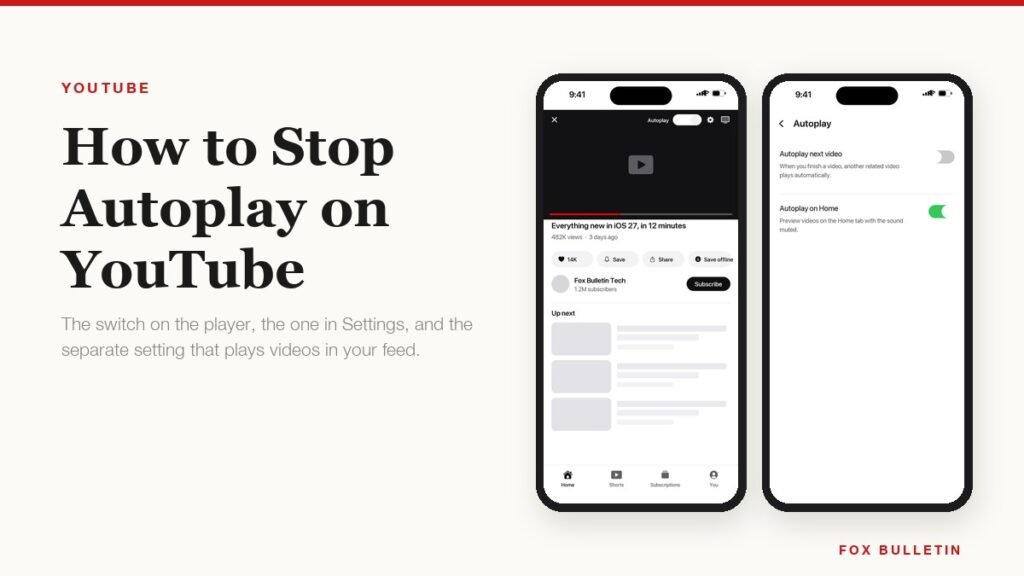
How to Stop Autoplay on YouTube on Every Device
Autoplay is set per device, so switching it off on your phone leaves it running on the laptop. There is also a second setting, Playback in feeds, that most people miss entirely.
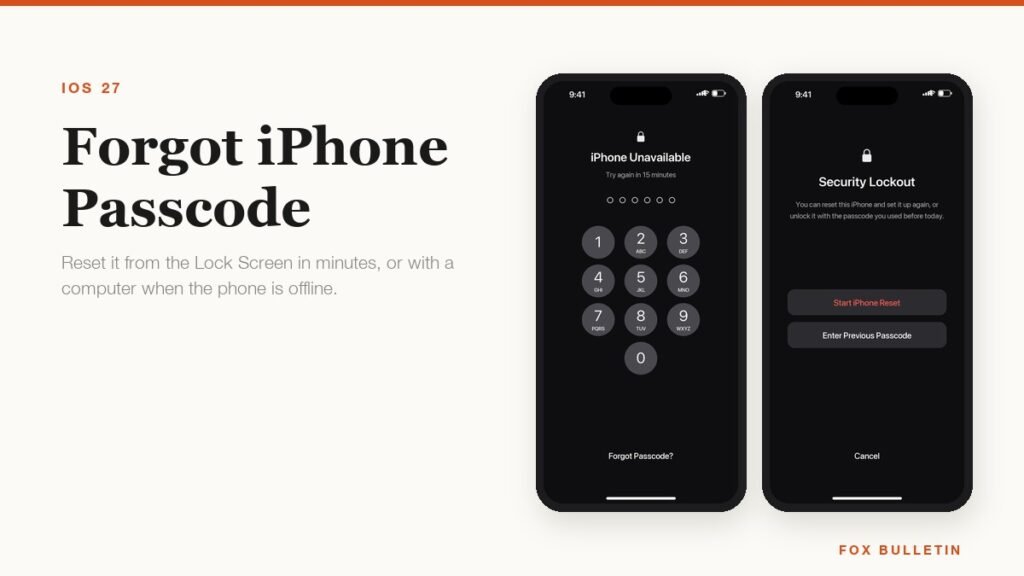
Forgot iPhone Passcode? Here Is How to Get Back In
If you changed the passcode in the last 72 hours, the old one still works and nothing is lost. After that the only way in erases the phone, which is exactly what the lock is for.